My personal preference is for “traditional” cantilever rim brakes, as opposed to the linear pull “V brakes” which are far more common. I have several reasons for this preference (beyond mere snobbishness that is) but I think I will leave that for a separate article, perhaps with a title like “V Brakes are Evil”. However, despite being cantilever-centric, much of this article is also applicable to V Brakes; in particular the section on adjustment techniques.
First up, I will tell you about a very neat trick to adjusting brakes that I have developed. The problem is thus: The “normal” adjustment technique consists of rotating the arm in so that the brake pad contacts the rim with one hand, holding it against the spring. You loosen the nut that holds the pad in place, and then with your other hand, align the pad so that it is flat against the rim. Then, tighten the nut to secure the brake pad, holding the brake pad against turning with the nut. Now, can you see the problem here? You need three hands. One to rotate the arm in, one to hold the brake pad and one to tighten the nut. I’m slightly embarrassed to say that it was only recently that I engineered my way out of this problem; before that I spent many frustrating hours and uttered many expletives trying to adjust my brakes the stupid way.
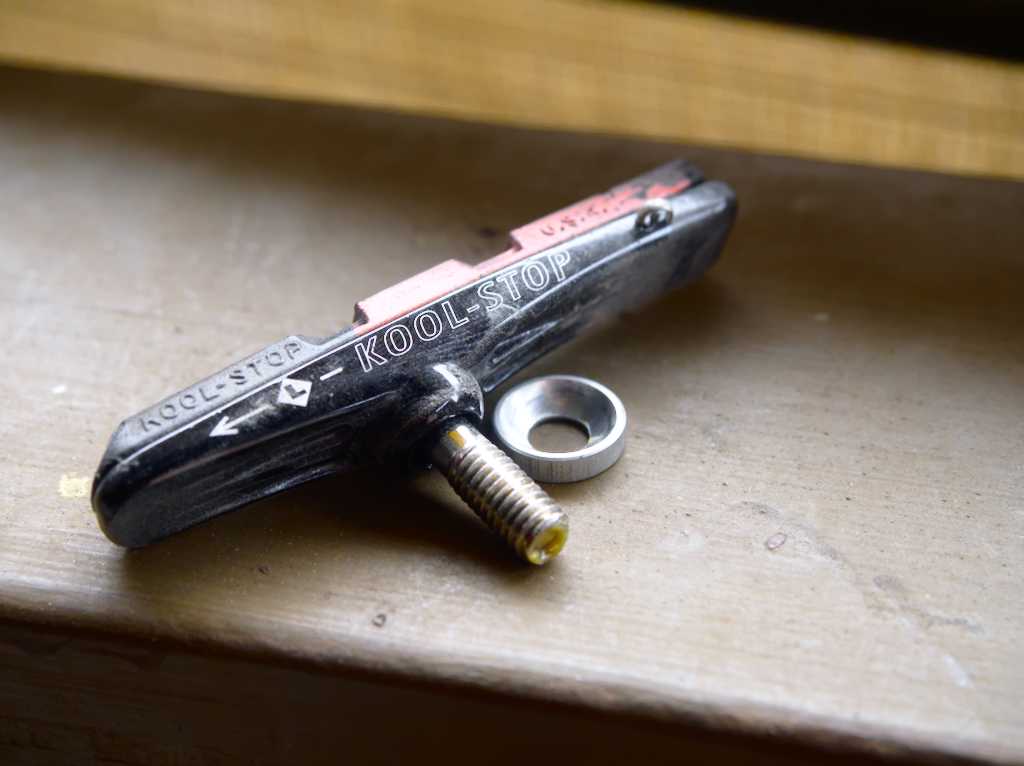
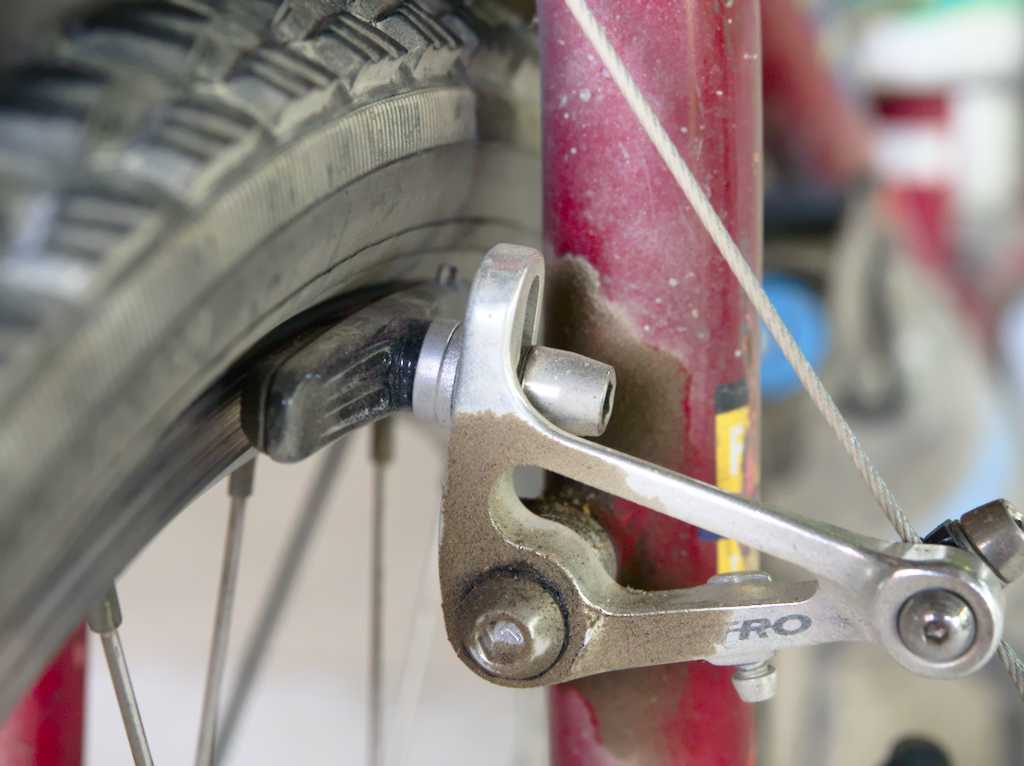
It was when I changed to cantilever brakes that the rubber hit the road. Many cantilever brakes have pads with a plain (not threaded) stud which is clamped by the brake arm. When you look closely at these clamps, you will notice that they have an enormous number of degrees of freedom: the pad can be moved close to or far from the rim; up or down; and rotated about 3 axes. It was immediately clear to me that the stupid way of adjusting V brakes simply would not cope with this number of variables; I had to develop a better technique or wave goodbye to my sanity.

The solution that I came up with was to use a strap from an old style toe clip pedal (we have a collection of these straps, they are really very useful) to pull the brake lever in to the point where I wanted the brakes to engage. I then set the pad flat against the rim, correctly aligned etc. I held the pad in place with one hand, and tightened the clamp nut with a spanner with the other hand. Repeat for the pad on the other side. I then had both pads against the rim, and when I undid the toestrap, releasing the brake lever, they separated from the rim. Perfect pad clearance, perfectly positioned pads, without the difficult juggling act that was V brake adjustment.
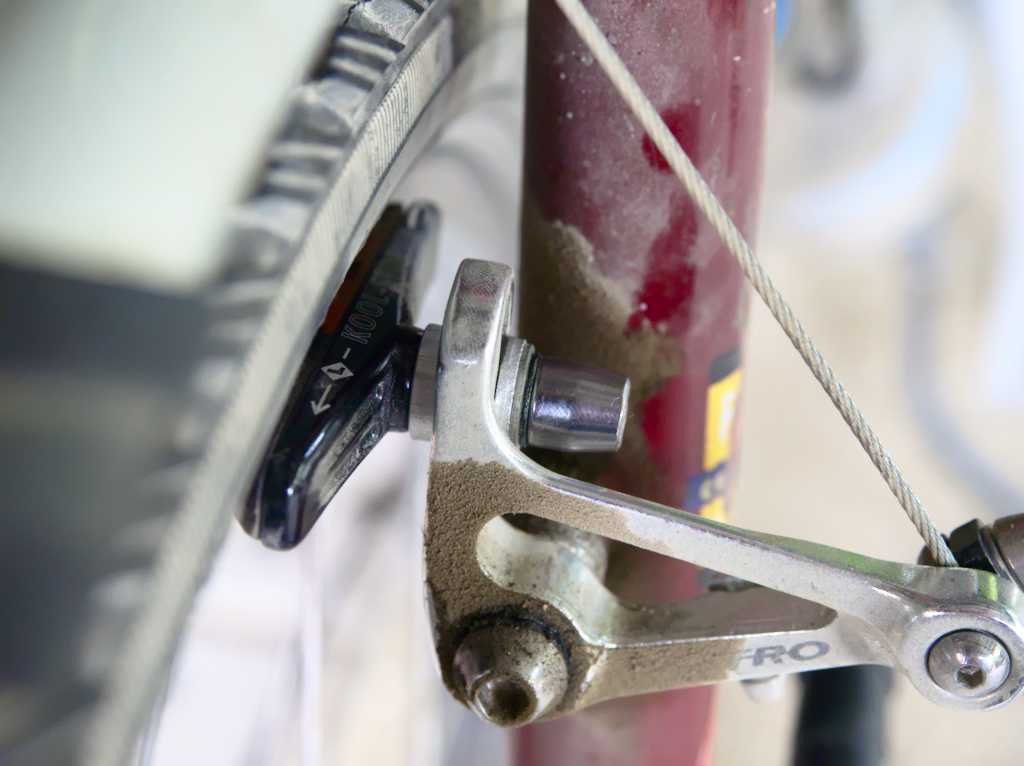
Since then, I have also been forced to adapt my technique to the same style of brake pads as V brakes use. My rear brakes had started to make a chattering noise, grabbing periodically, and I noticed that they could wobble around quite a lot even though the mounting bolt was quite tight. This was because the bushings were worn away. It isn’t really practical to replace the actual bushings, so the best option here was to buy new mechanisms. So I went in to the bike shop looking for cantilever mechanisms, specifically of the non threaded stud variety since I had developed an easy way to adjust them. However, I ended up coming home with cantilever brakes that used the threaded stud style of pad mounting similar to V brakes; the sales person suggested that the Tektro brakes (which I got) were much better quality than the cheap alternatives. Apparently they are also supposed to be “easier to adjust” than the non threaded stud variant. Lol.
I justified this purchase with the reasoning (quite correct too) that I wouldn’t have to resort to the stupid way of adjusting this type of pad: I could adapt my improved method.
I came up with a two stage method. First, I put the pads in approximately the right position, but I didn’t tighten them fully: that’s for the second bit. I adjusted the transverse cable so that I have just enough slack to be able to undo the quick release, so that I can undo the brakes to remove the wheel. I have found that this gives suitable pad clearance: the brake levers pull in about a third of the way before the pads contact the rim. Note that this does not involve adjusting the transverse cable yoke, where the main cable pulls up on the transverse cable. I set that when I installed the brakes so that the yoke angle is as low as possible, by placing the yoke low to the mudguard.
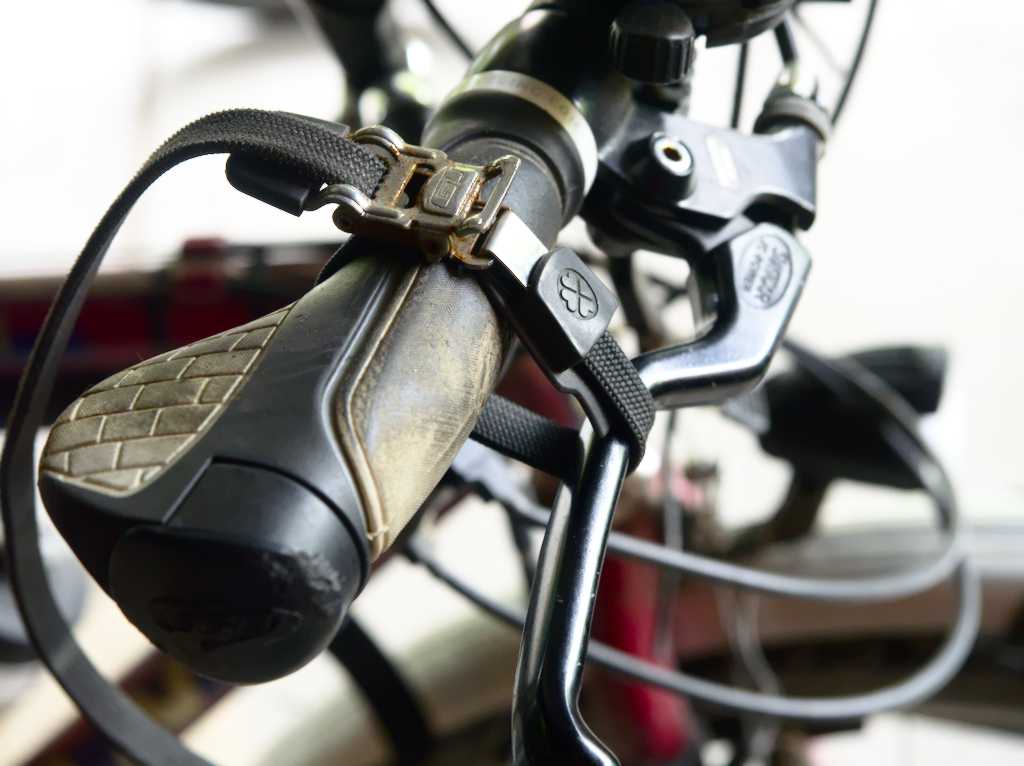
The next step was to tighten the toe strap around the brake lever quite firmly. Then I loosened the partially tightened brake pads (note that the pads don’t fall out because the lever is clamped on). I was then able to coax the pads into the correct alignment, flat against the rims, and tighten them up. Having the lever clamped on means that firstly, I only needed two hands to do the rest of the adjustment, and second, the clamping force reduces the tendency of the pads to turn with the nut as you tighten them. I have to admit, the guy in the bike shop was actually right; these brakes are easier still to adjust using the Improved Method.
Now that I’ve shared that little pearl of brake adjustment wisdom, let’s move on to some other fun topics: mechanical advantage, and my mistake in setting up my new cantilever brakes.
Sheldon Brown has produced a significant amount of very useful information on the topic of brakes and their care and feeding. One page in particular goes into great detail about the mechanical principle behind cantilever brakes, and it gave me some useful insight. Here is the link: cantilever geometry
In summary, cantilever brakes were originally seen as “weird and exotic equipment”, and many people still consider them difficult to adjust and/or set up. This reputation is largely down to the fact that, unlike pretty much every other kind of brake mechanism, the mechanical advantage is variable depending on how the mechanism is set up.
Specifically, you get optimal braking power with cantilever brakes primarily when the yoke angle (the angle of the transverse cable to the horizontal) is as small as possible. The ratio of the distances from the pivot to the pad face and the pivot to the transverse cable also has an effect, smaller PS and larger PC will increase braking power, but the yoke angle has a stronger effect. (Refer to Sheldon’s diagram).
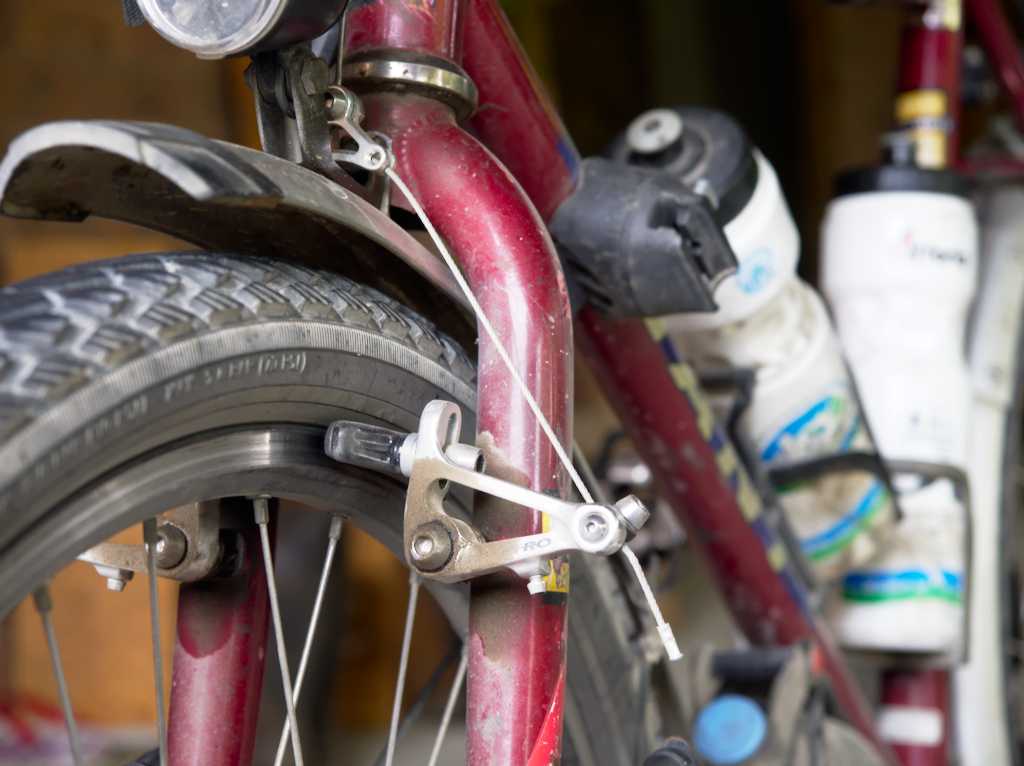
Now the old brakes that I had been using were of the “low profile” variant, which means that the calipers don’t stick out very far on either side of the frame. Sheldon Brown wrote (somewhere) that during the 1980’s there was a brief craze for placing the rear brakes down underneath the chainstays, near the bottom bracket. Wide profile cantilevers caused problems here, because they would foul with the cranks or your feet when you were pedaling. Low profile cantilevers were the solution to this.
When adjusting low profile cantilevers, it is best to have the caliper arms spread relatively far apart, since that tends to result in a shallow yoke angle and better braking power. This also means that the arm clamps onto the stud close to the end of the stud, furthest away from the brake pad.
The new brakes that I got are not low profile though, they are wide profile arms. My mistake was that I fell into cargo cult mode and tried to apply the same principles from low profile arms, using a long transverse cable as described above. Although they felt very firm when I just grabbed the levers, I found that they were not quite as powerful as I would have liked. I hasten to add that this was not a drastic issue, they did work adequate enough really for most situations, but they required a noticeably stronger grip.
It was when I came back to Sheldon Brown’s article above that I realised my folly. I remedied it by changing the position of the spacers on the brake pads and readjusting the transverse cable length accordingly. I suspect that this has produced a mild improvement in braking power.
Hey awesome bike. What light mount do you have? I need something that works with wide-profile canti’s like you have. Thanks, safe riding!
The light mount doesn’t seem to be of any particular brand. In fact, I’m not even sure where it originated from. I think my Dad got it some time in the early 90’s, and it has been sitting on a shelf from then until when I needed it. I reckon you should be able to find one in a bike shop, but I’m afraid I haven’t had cause to search for them. What places have you tried so far?