The story so far
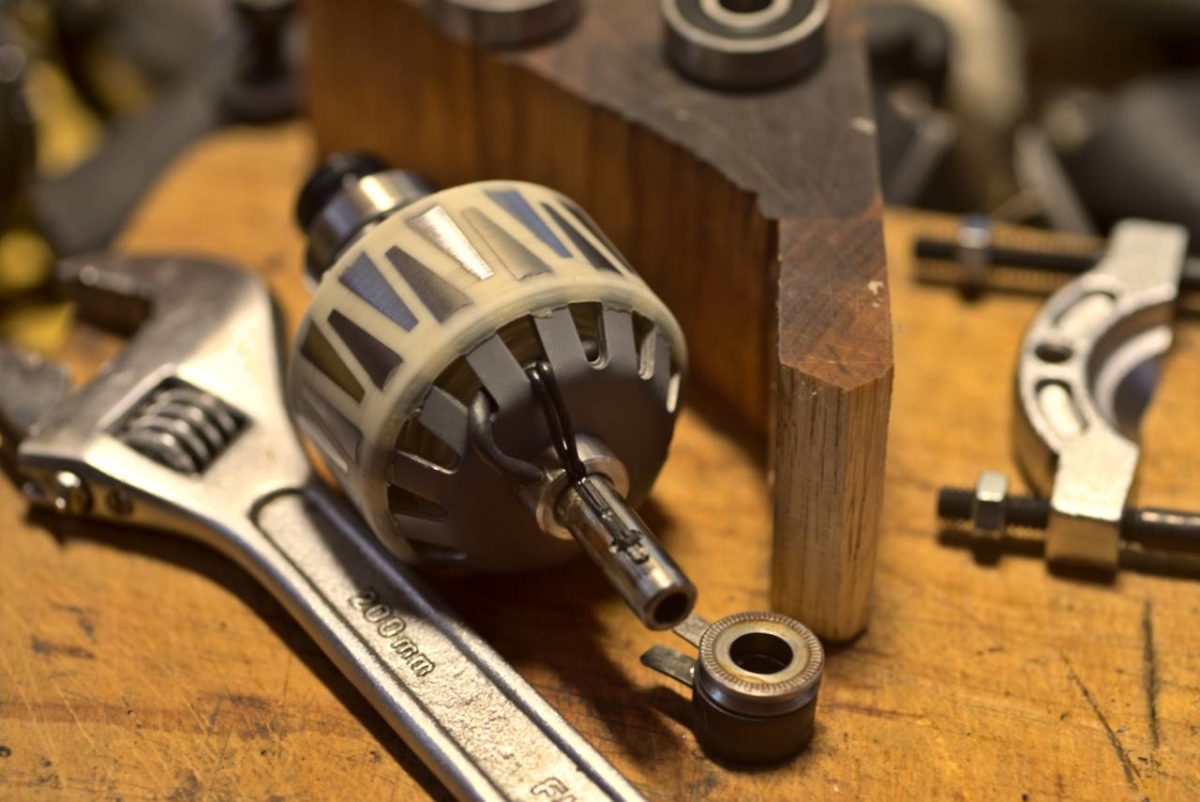
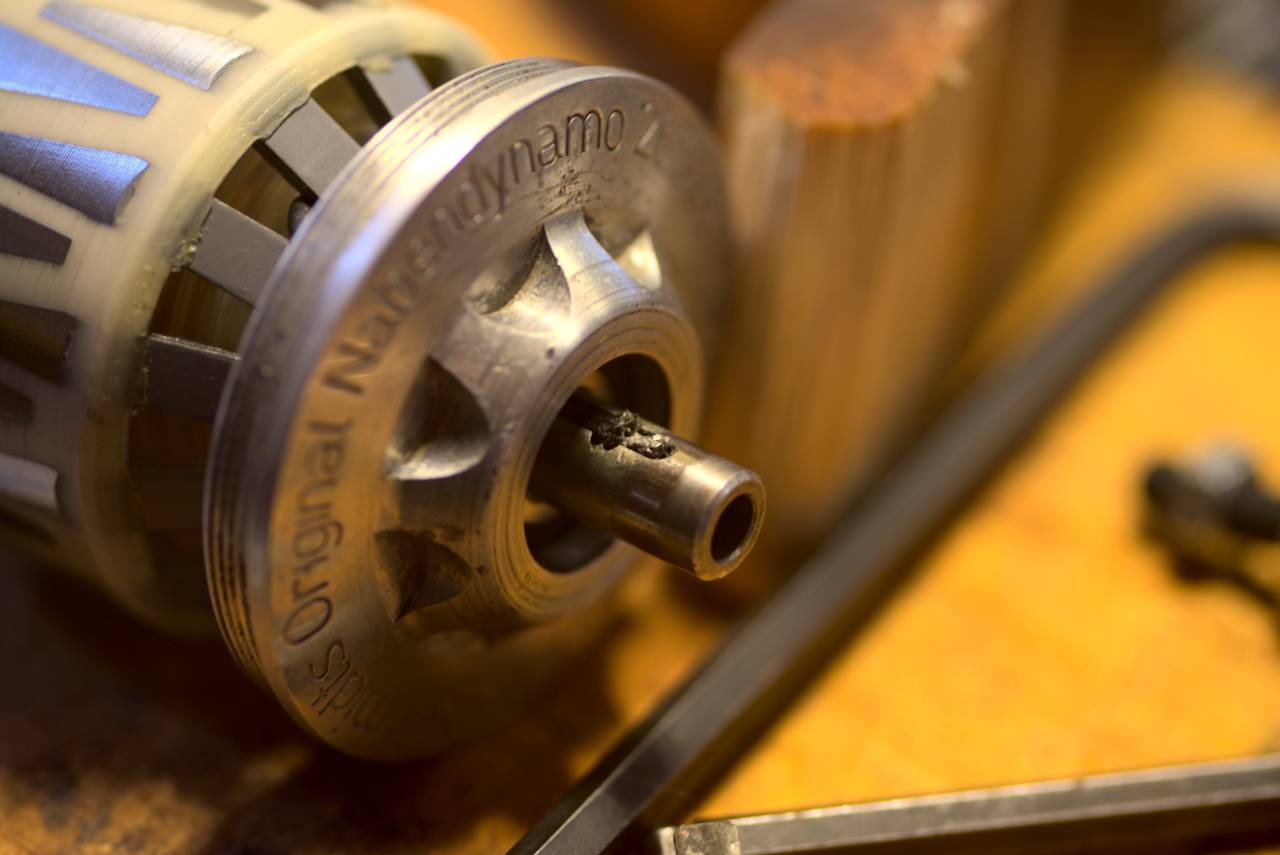
At the beginning of this year, when I noticed that my venerable old SON28 dynamo hub had developed a bit of play in the bearings, I decided to prioritise a project that I’d been working on to figure out how to open the thing up to service it. After searching online for any information that I could get, I finally arrived at a tool that worked to unscrew the internals from the hub shell.
I was certainly very pleased to see that the internals were completely free of any sign of corrosion, even after about 13 years of use. However, with the internals out of the hub I was able to feel that both of the bearings had some degree of play in them; the one on the terminal side of the hub being considerably worse.
Removing the Bearings
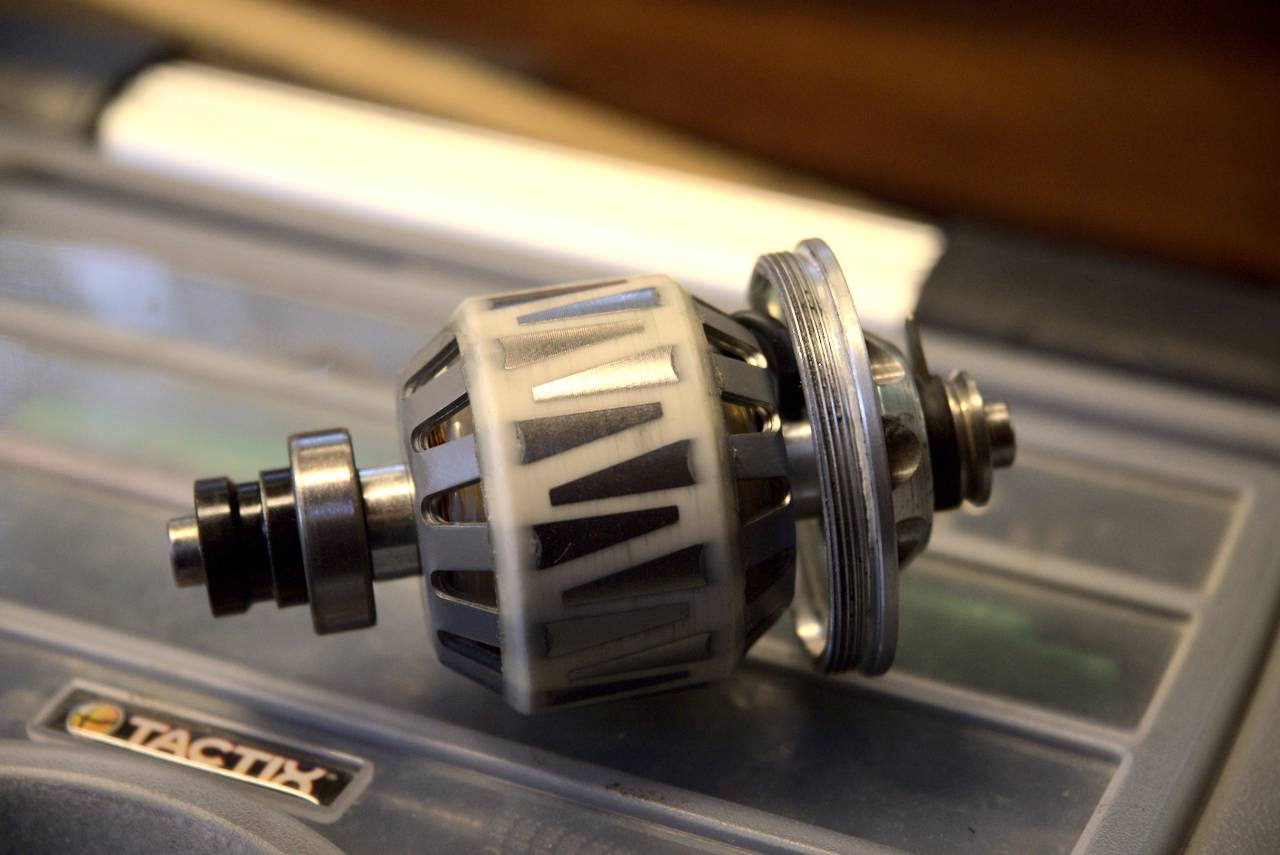
I had come up to a bit of a challenge in how to remove the bearings from the axle? As can be seen, the axle is not threaded, and the bearings are pressed into place (interference fit), which I had little experience working with up till now.
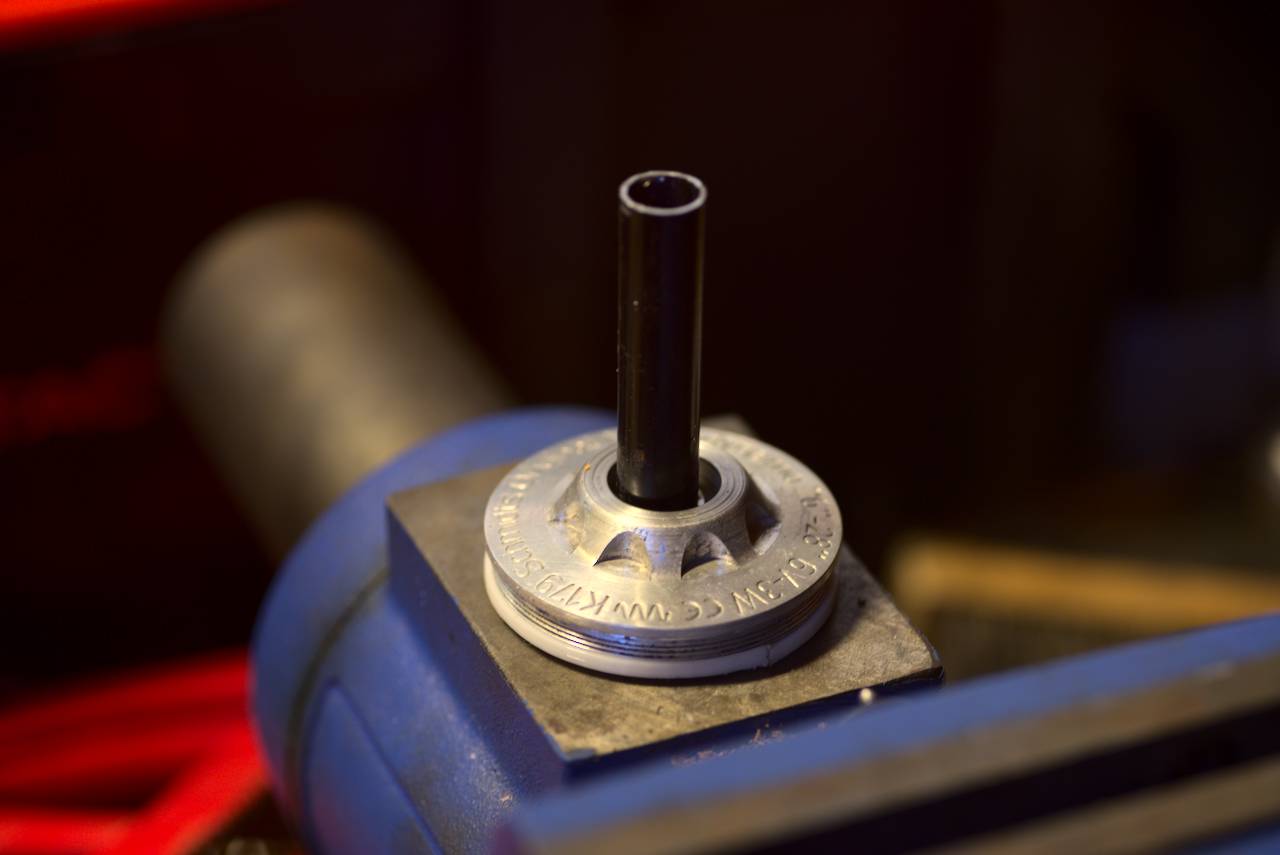
I decided to tackle the non-terminal end of the axle first, as that bearing looked simpler to support, and didn’t have the added complication of the (potentially fragile) wires running through it. I figured that I needed a way of supporting the outer race of the bearing while pressing the axle through. Similar to the way a crank puller works, supporting the crankset while pushing the BB spindle. Fortunately, such a tool exists: an external bearing puller, and I acquired one. Unfortunately, they’re mostly designed to work with much larger diameter bearings, and mine couldn’t grab something as small as the SON28 bearing.
I spent some time thinking about how I might design a part to fit around the bearing that could be 3D printed in plastic but still (hopefully) strong enough to work. Eventually I decided that I’d go and buy the replacement bearings from our local bearing shop (the cartridges were 629-2RS by the way) and while I was there I asked them for advice on how to remove the old bearings. They suggested using a bearing separator, so that’s what I tried first, and I’m pleased to report that it was completely successful. Interestingly, I noticed that the end of the axle had been ground so that it was slightly undersized, which meant that once I’d pulled the bearing close to the end of the axle, it slipped off very easily. Also, the new bearing slipped on very easily, and I had no problems getting it properly aligned.
disassembling the terminal block
Arguably the biggest challenge of the whole procedure was how to disassemble the electrical terminals. I knew that a wire had to run along the axle, inside the bearing, but beyond that I had no knowledge of how I could take it apart without breaking the wire. I figured that, since it was now a matter of necessity to replace the bearing, if I did break the wire somehow, I would just have to work out a way to repair it.
I had noticed that next to the terminal block, there was a kind of nut, with a groove cut into it, so I assembled the bearing separator to grip the groove, and used the bearing puller to pull the nut off (it isn’t threaded, and there are no flats for a spanner you see). Similar to the other side, the end of the axle was slightly undersized, so after pulling it a few millimetres, it slipped off easily.
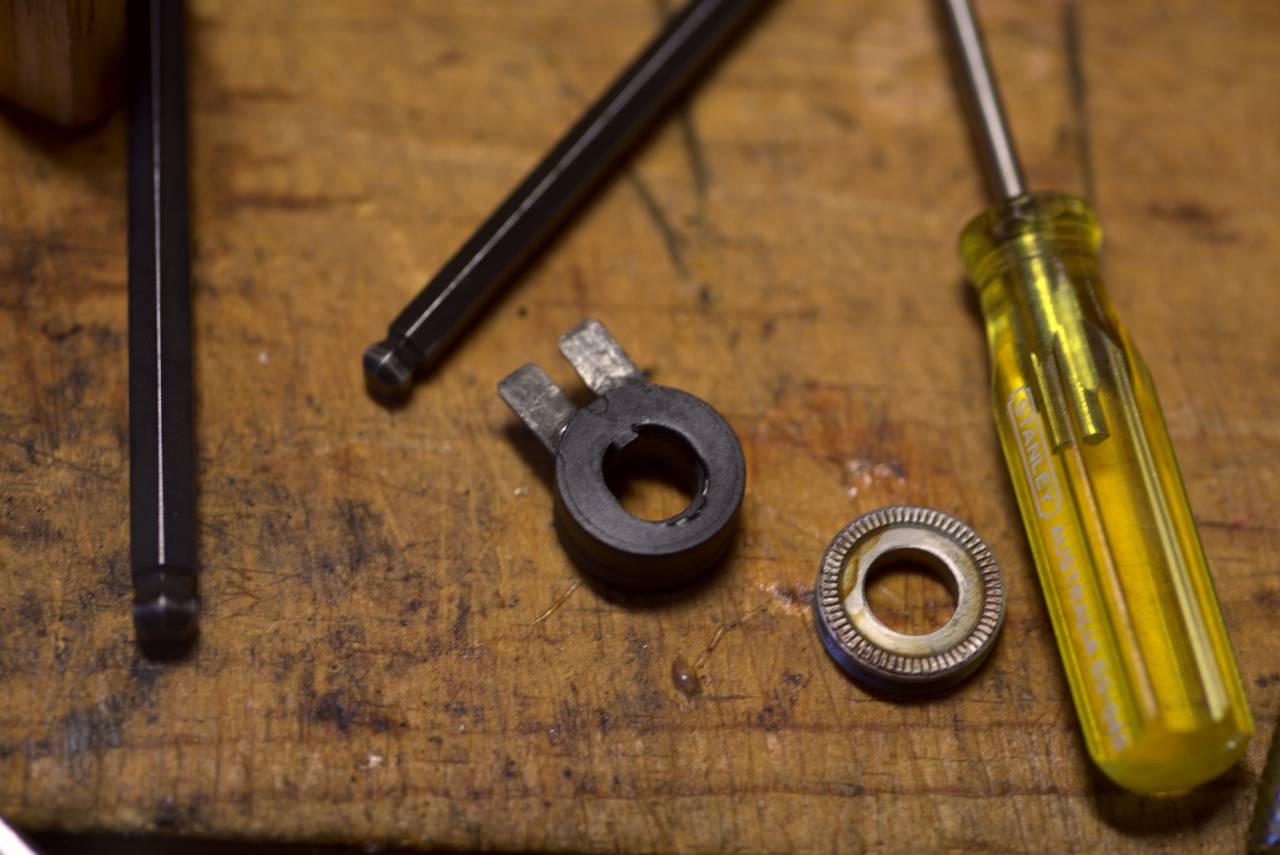
With that done, I could see the outside of the terminal box, and I was confused for a while, because I couldn’t see any way in, it just looked like plain black plastic. However, after a bit of fiddling, I noticed a crack, and I was able to pry off a sort of cover by wedging a small screwdriver between the plastic and one terminal.
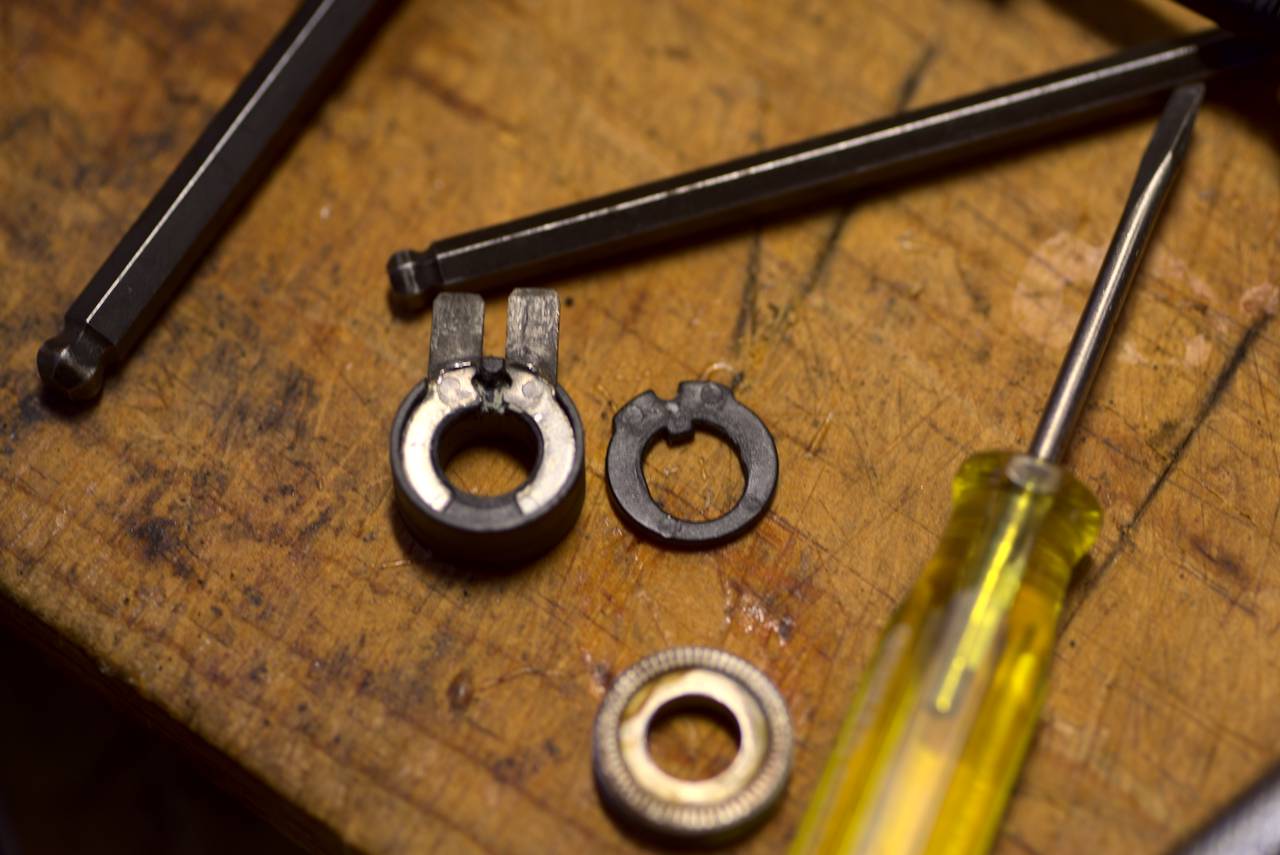
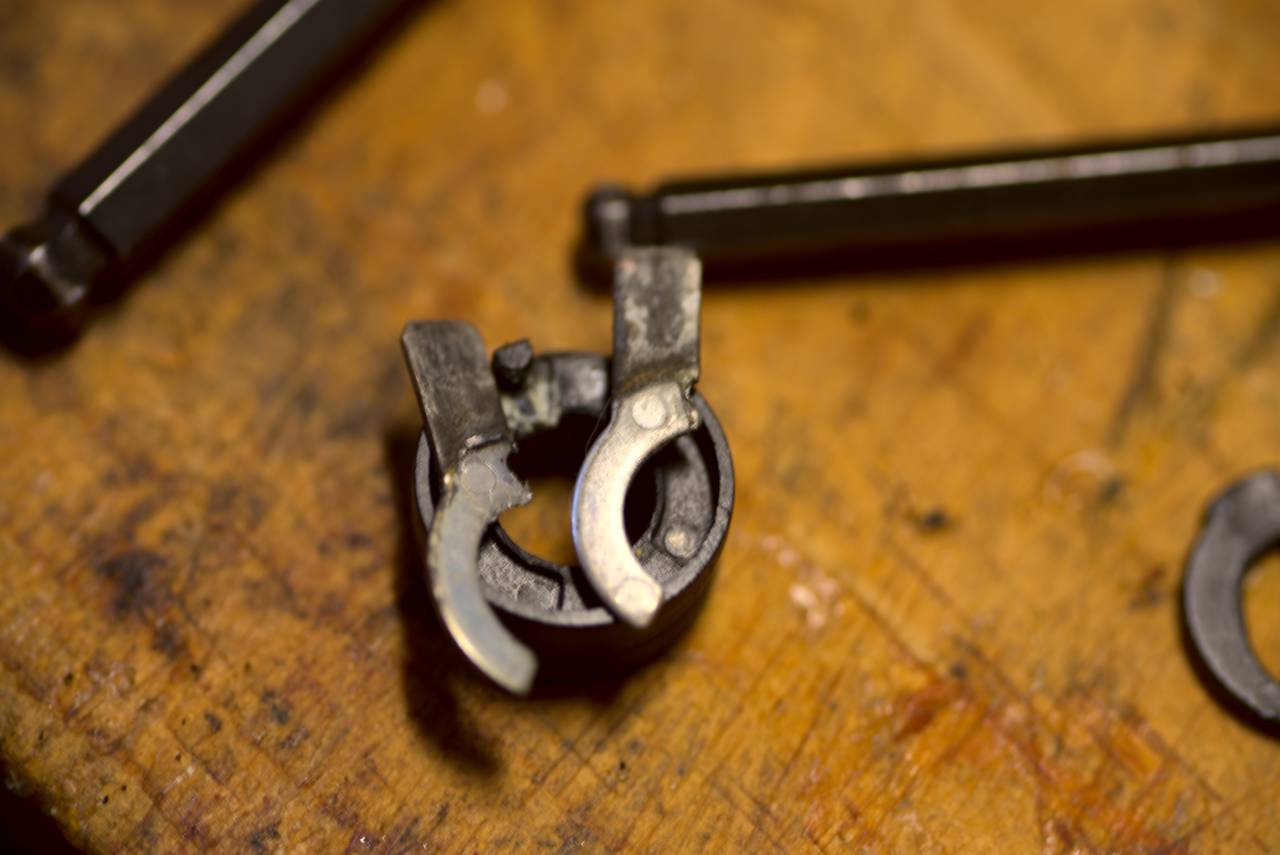
At this point I was quite apprehensive that the terminal blades might well be soldered onto the wire that runs along the axle, but I don’t believe that’s the case. The two ends of the wire each have a tiny bit of metal which nestles in against the terminal blade, and as long as it maintains contact the electrons can get through. The plastic housing keeps the ends in contact with the terminals, but critically also keeps the two ends of the wire separated from each other. I was able to just pry out the terminals, and then fold the two wires into the notch in the axle, then slide the plastic part out.
Next up I removed the hub cap. Because of it’s larger diameter, I was able to use just the bearing puller. I placed a piece of plastic against the inside of the hub cap to protect it against scratches (out of habit more than anything else), although a piece of scrap inner tube would do the trick just as well I reckon.


The old bearing came off inside the hub cap, so I had to press it out from there, which I did with the help of a small section of scrap steel tubing, chopped off a longer bit that I had laying around. Pressing the new bearing in was straightforward.


reassembling
There was really nothing dramatic in reassembling the hub now that the new bearings were both installed. I pressed the hub cap back on (the wires stayed in the notch). I was still concerned about the terminals, because I wasn’t sure how well the ends of the wire were connected to the terminals (and they were quite hard to see because of how small they are). I wasn’t completely sure that I hadn’t inadvertently broken a soldered joint.
Nevertheless, I screwed the internals back into the hub shell, and I was very, very pleased when I spun the wheel and the lights worked. At the time of writing this, that SON28 hub has been back in service for about 6 months without any problems, so it would seem apparent that my reassembly of the terminal block was successful.
Im in the process of making my own DIY dynamo lights, and came across this. I have no need to disassemble a SON dynamo, but I found this very interesting none the less. Thanks for doing the write up, great work!
Cool. If you’re designing the circuit yourself, an interesting idea is to make a bridge rectifier but with LEDs in place of diodes. You probably wouldn’t need any resistive load on the DC circuit fed by the rectifier; you could use either an inductive ballast, or plain wire (the dynamo has an internal inductance which may be enough to keep the current within the max for the LEDs).