Some of you may have heard terms like “web quality” being bandied around with regard to images, carrying the implication that photos on websites are generally of an inferior quality (which is often true) compared to what comes straight out of your camera. It was only recently that I found out what the best practice is for preparing photos for a web site, so I decided to share it with you and perhaps you will be able to improve your page load time.
The reason for publishing low quality images on the web comes down to file size. JPEG images straight out of a camera are usually several MB’s; now they are slow to upload to Facebook, but then I went and started this blog with it’s 2MB upload limit and quite constrained hard disk space. MB sized images take quite a long time to load on a web page, and if you have any significant number of them, they take up quite a bit of space. And with Amazon Web Services providing that space, that translates to money.
So I did some research. What I found out was that the target file size that you’re looking for is around 80 to 100 kB per image, and that size is achieved with a combination of reducing the pixel count (resolution) and using a far more aggressive JPEG compression (lower quality). On the pixel count side of things, I have found that setting the longest side of the image to 1024 px is adequate (why 1024 you ask? because geeks always count in powers of 2). At that resolution, the full size image is large enough on the screen for comfortable viewing without pixelation. In terms of quality, I would normally export images from RAW files as 95% quality JPEGs to save on my own hard drive (which doesn’t incur fees). However, it is quite OK to reduce the quality to 50% for web pictures. I have found that this does introduce some compression artifacts, such as blocking and sharp lines becoming fuzzy, but it is only mild; 50% quality gives a suitable trade-off between quality and storage size for web publishing.
As a matter of interest, I suspect that Facebook probably crunches images after you upload them to cut down the resolution and quality, and hence the file size. With the volume of material being posted there, they probably can’t afford to actually host the really high quality files that people upload without knowing any better.
As for how you process pictures that you get off your camera, there is quite a lot of software available, and I prefer using open source programs. Ubuntu has a default image manager called Shotwell, and you can set resolution and quality as parameters when you export images. I don’t usually export JPEGs from Shotwell though, I prefer to process my own RAW files, which results in better images. Darktable (which I believe is a Linux only program) has these options for quality and resolution when exporting images. That is only to describe my own workflow though, you will figure out your own method with your own software.
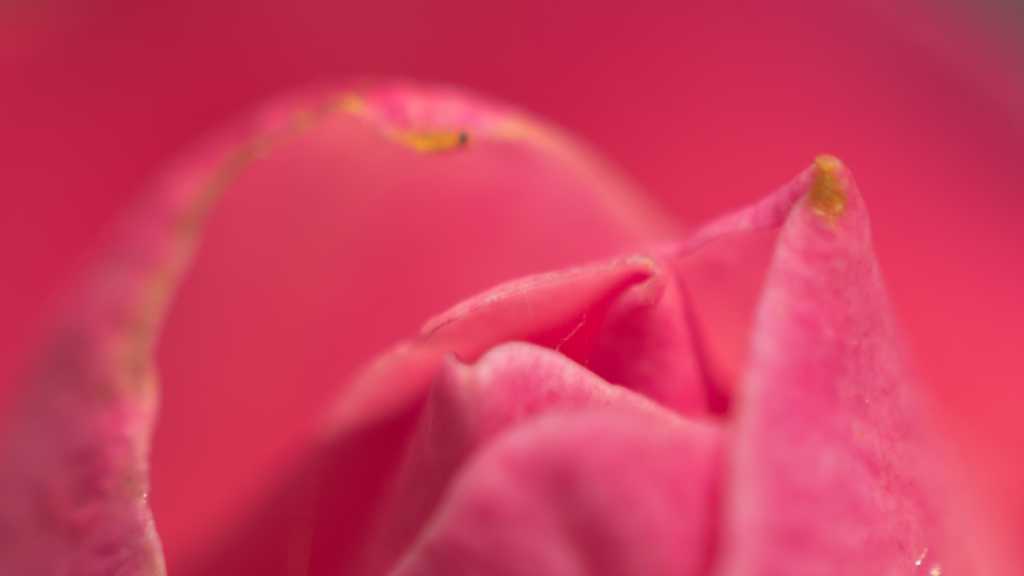
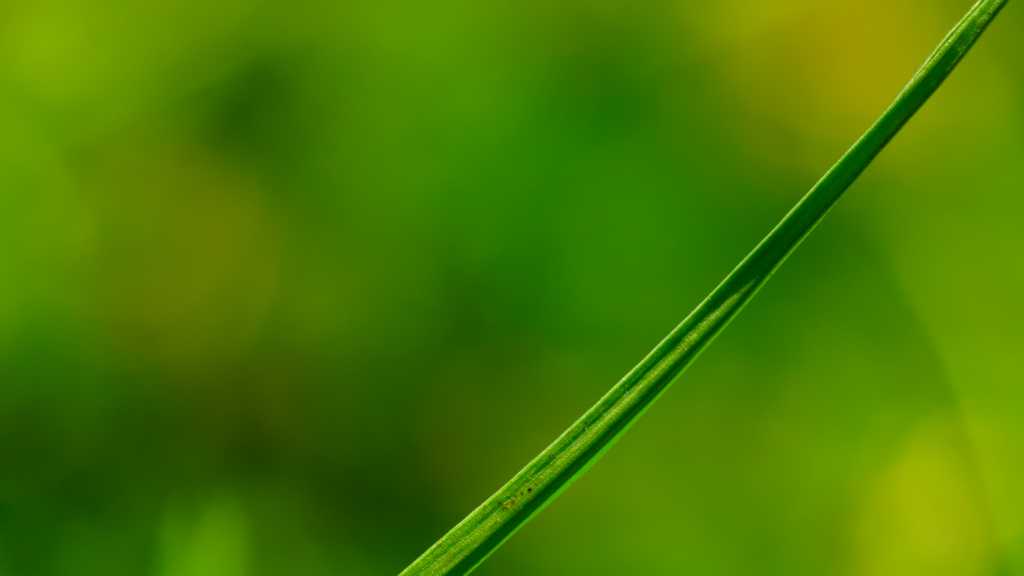
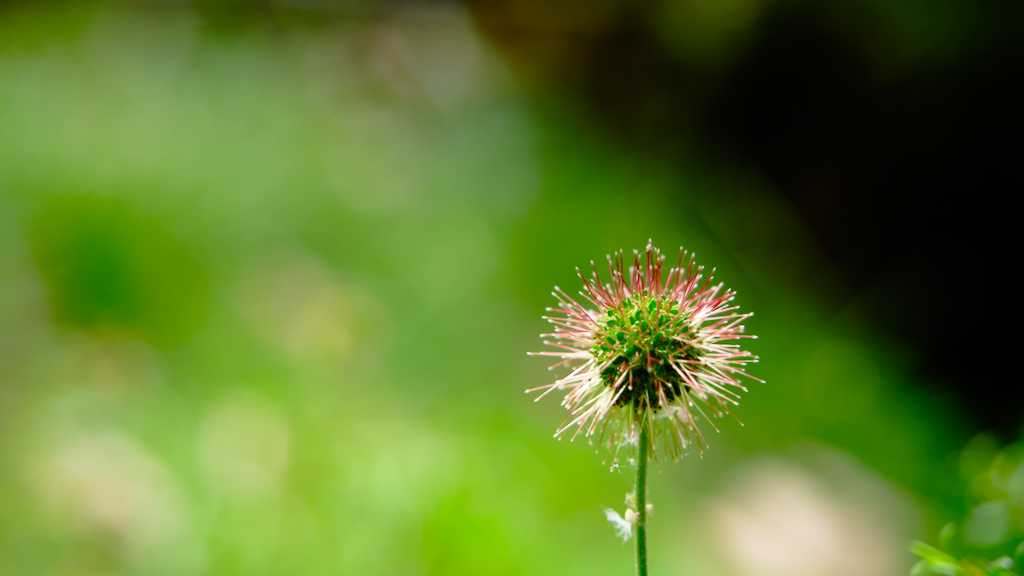
Anyway, here are some low quality JPEGs. If you squint at them you should be able to see some of the artifacts, particularly areas where there is a gentle colour gradient such as blurry backgrounds.
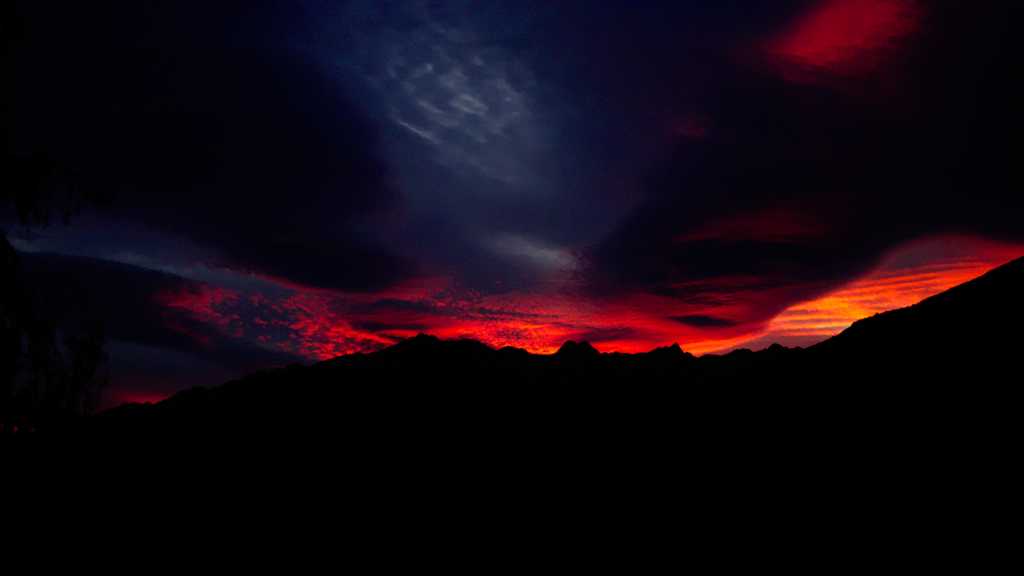
We had a really good sunset at Makarora; it was fading quite fast while I rushed to get my camera. This image also has quite noticeable jpeg compression artifacts due to the aggressive compression that is best practice for web publishing.
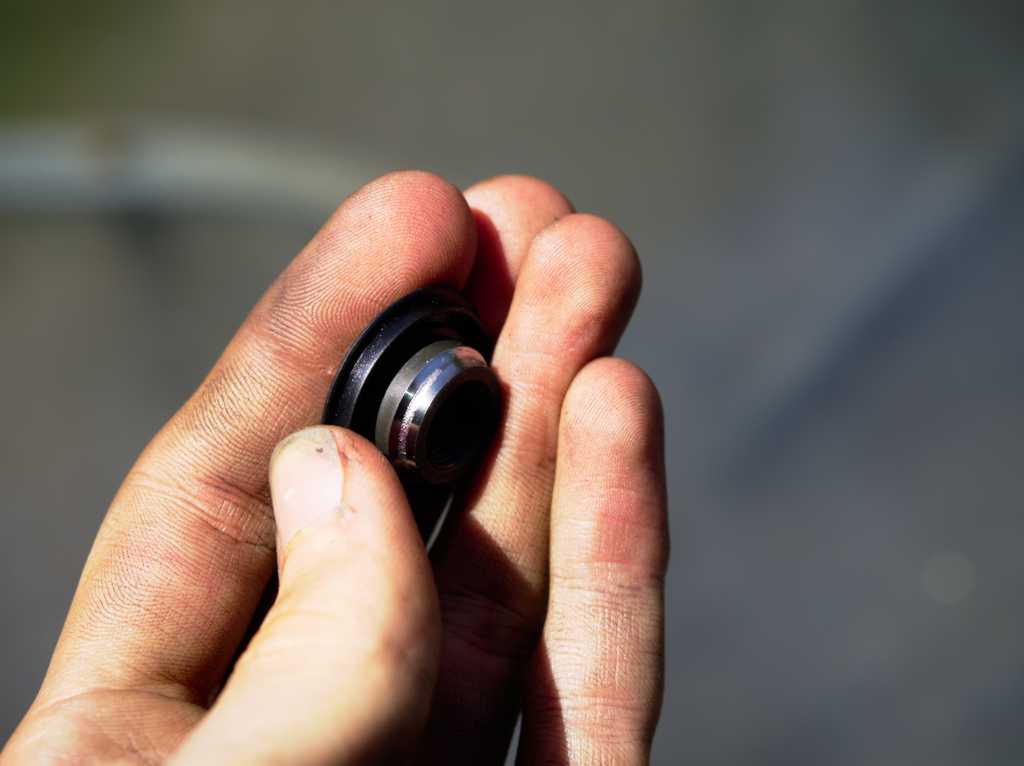
A worn cone
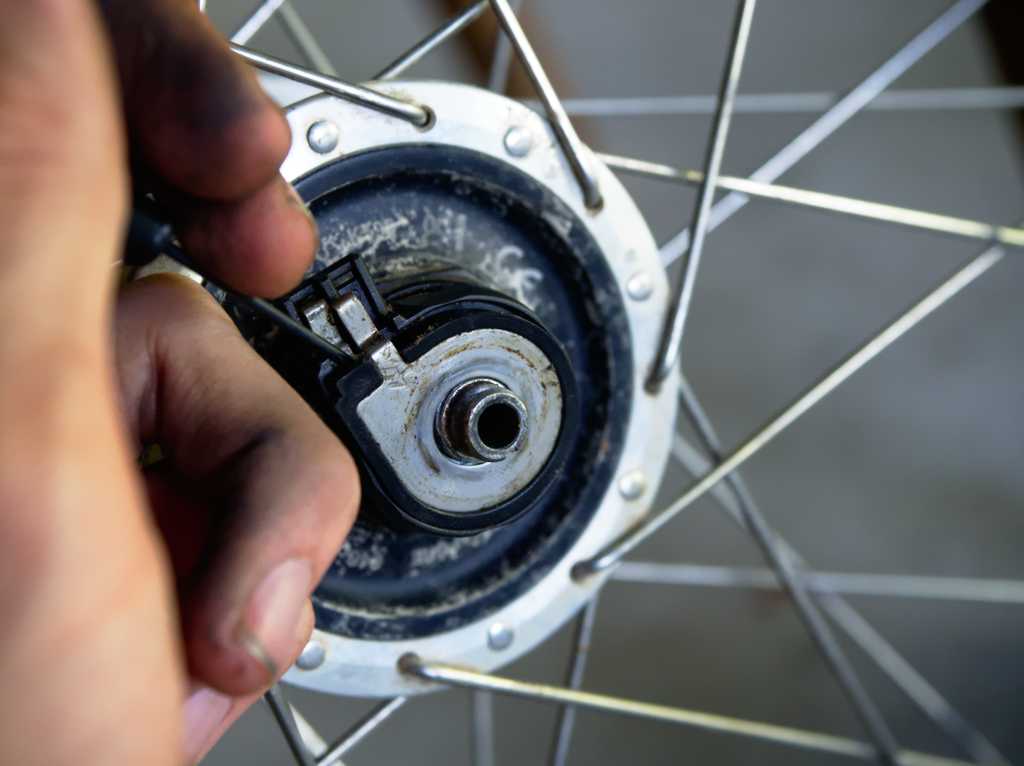
Prying off the earth plate from the terminal box